Why Kitchen Layout Matters
A beautifully specified kitchen with poor layout is frustrating to use. The relationship between the sink, hob, and fridge — the "work triangle" — determines how efficiently the kitchen functions. In a London extension, where the kitchen layout is often being redesigned as part of a wider open-plan reconfiguration, getting this right from the start avoids costly changes later.
The Six Core Kitchen Layouts
1. Galley Kitchen
Two parallel runs of units facing each other, with a corridor between them. Common in Victorian terraced houses before extension.
Best for: Narrow, elongated spaces; households that prioritise workflow efficiency; a single cook.
Limitations: Not suitable for open-plan living; awkward for multiple cooks; can feel enclosed.
Typical space requirement: Minimum 2.4m wide (1m corridor between unit runs with 0.7m either side).
2. Single-Wall Kitchen
All units on a single wall. Often used in open-plan studio flats or where the kitchen is one element of a larger open room.
Best for: Small or narrow open-plan spaces; households that rarely cook extensively.
Limitations: Limited worktop run; all appliances visible from living area; no separation of prep and cooking zones.
3. L-Shape Kitchen
Units on two adjoining walls forming an L. The most versatile layout for mid-sized kitchens.
Best for: Medium-sized spaces; open-plan layouts; households that want a clear divide between kitchen and dining zones without a physical barrier.
Advantages: Good workflow; the corner can be used for a larder unit or lazy Susan; works with dining tables positioned at the open end.
Typical space requirement: Each leg of the L should be at least 2.4–3.0m.
4. U-Shape Kitchen
Units on three walls, forming a U. Maximum storage and worktop in a self-contained kitchen.
Best for: Dedicated kitchen rooms with sufficient width; households that cook seriously; properties where the kitchen remains separate from the dining area.
Limitations: Requires sufficient width (ideally 3.0m+ between opposite units); can feel enclosed if over-fitted; not ideal for open-plan if the U faces the living area.
5. Island Kitchen
A central island added to an L-shape, U-shape, or single-wall kitchen. The island provides additional worktop, storage, seating, and often a hob or sink.
Best for: Open-plan kitchen/dining/living spaces with generous floor area; households that entertain; sociable kitchens where the cook can interact with family or guests.
Space requirements: Minimum 900mm clearance on all working sides of the island (1000mm preferred). Island width typically 800–1000mm. Length 1200–3000mm.
Limitations: Requires a large floor area; services (gas, water, extraction) to the island add cost.
6. Peninsula Kitchen
Similar to an island but connected to the existing run on one end. Acts as a partial room divider between kitchen and dining areas.
Best for: Open-plan spaces where a full island is too large; creating a natural flow between kitchen and dining; casual seating for breakfast or informal dining.
Space requirement: Less than a full island — one end is against the wall.
Kitchen Design in the Context of a London Extension
In a rear extension, the most common outcome is an open-plan kitchen/dining/living space. The typical approach is:
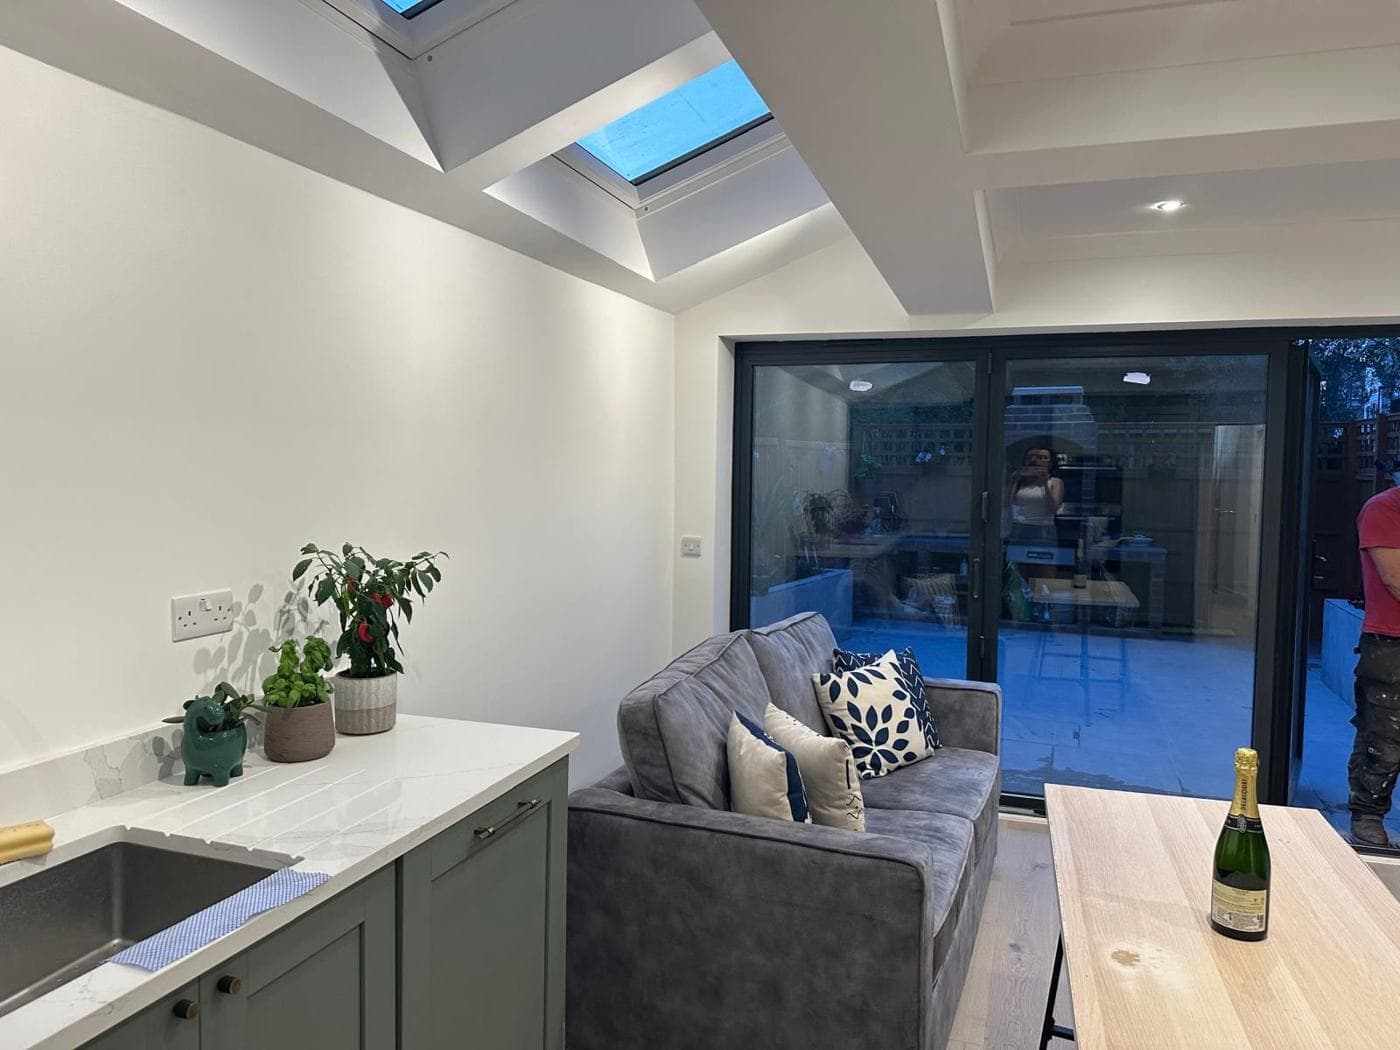
- Kitchen units along the rear wall (with roof lantern or bi-fold doors above/beyond)
- Island or peninsula as a social hub and additional worktop
- Dining area adjacent to the glazed garden connection
- Living area in the original footprint of the rear room
The kitchen design should be coordinated with:
- The structural engineer (positions of steels may affect unit runs)
- The M&E designer (gas, water, waste, and extraction positions)
- The architect (roof lantern positions and bifold doors affect natural light over the worktop)
- The flooring designer (floor material and level changes between zones)
Extraction and Ventilation
In an open-plan kitchen, ventilation is critical. Options include:
- Ceiling cassette extractor (recessed into the ceiling above the hob): Clean appearance, efficient in open plans
- Ceiling canopy extractor (a visible hood): More design impact, efficient
- Downdraft extractor (rising from the island hob): Useful where a canopy would block sightlines; less efficient than ceiling solutions
All extractors in a rear extension should be vented externally — recirculating filters are significantly less effective and not appropriate for serious cooking.
rcbGroup
rcbGroup coordinates kitchen design decisions with the structural and M&E design as part of the extension package — ensuring that appliance positions, extraction routes, drainage, gas, and electrical supplies are incorporated into the design from the outset rather than retro-fitted.